
Download Drum Layout Mat
Download the Makedrums.com Layout Mat .pdf file for $5. (Instant File Download) 

Print the file at a local copy/fax/print store.
I took my file to Fedex. I had the option to print the file in color for $7.75/sqft or I could print it in black and white for .75/sqft. The files dimensions are about 28×28, so you’ll save lots of money by printing it in black and white. My total print cost was $4.06. Tell your printer to print the actual file size

Glue the drum hardware layout mat to a flat surface.
I usually have spare wood laying around, but this time I actually had to go to Home Depot to get this. I bought a 4×8′ sheet of 11/32″ ply wood and had them cut me a piece out of it that was 29×29″.

Sand the surface smooth to prevent bumps on your layout mat!

Glue one section at a time.
When you have your drum layout mat lined up where you want it, glue one side at a time. I’m using a spray adhesive from 3m.
Smooth out any air pockets.
Protect the surface.
There are a few ways to do this. If you have plenty of time you could use clear polyurethane over the paper. I opted to use clear packing tape because it was quick and easy.


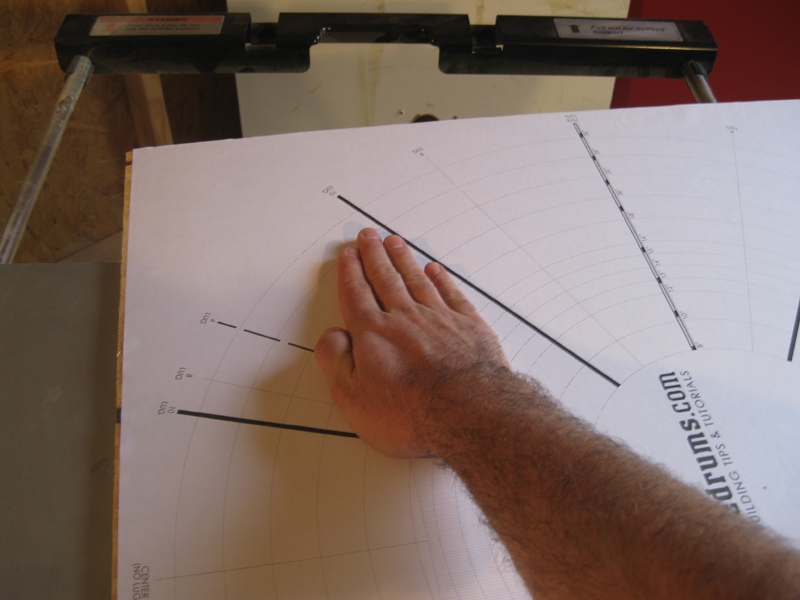
Drill a pilot hole through the center of the layout mat.
There is a + on the mat so you know exactly where to drill.

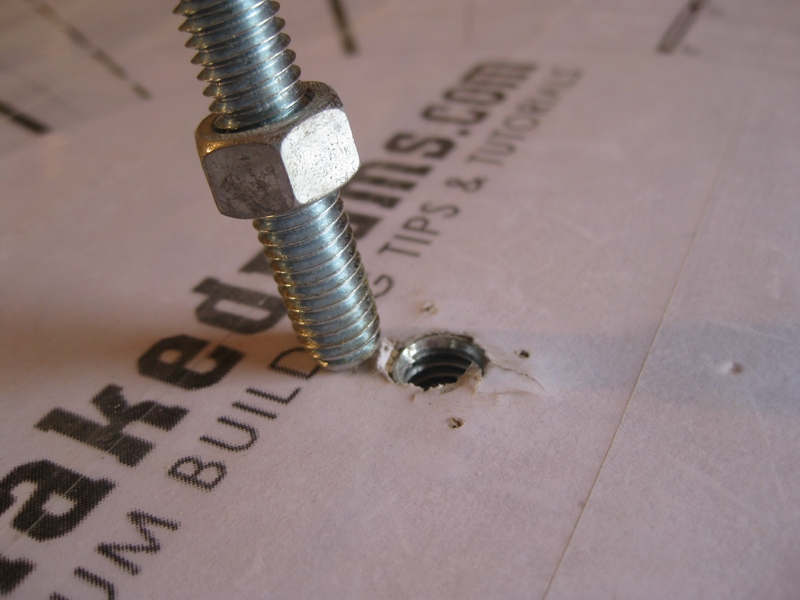
Other materials needed:
You’ll need these as well! Finish drilling the hole so that you are able to hammer in one of these t-nuts in the bottom.


Attach Rod
Use 28″ piece of wood and a clamp to secure the drum shell.
I happened to have a piece of wood laying around in the shop. I just drilled a hole large enough for the metal rod to pass through and used a spring clamp to apply pressure to the shell so that it doesn’t move while I’m laying out my drums!

Comments
What is MDF ? Respectfully Bruce Bufano
You could also consider mounting the whole thing to a lazy Susan so you can easily rotate it while you’re working on it.